How to Speed Up Your WordPress Site in 15 Minutes: A 10-Step Guide
Google started emphasizing PageSpeed as a ranking factor in 2010, expanding to mobile in 2018 and Core Web Vitals in 2021. WordPress caching plugins, especially WP Rocket, became key for optimization.

How to Speed Up Your WordPress Site in 15 Minutes: A 10-Step Guide
Google made its first official announcement about the importance of the PageSpeed criterion in search rankings in April 2010 . In 2018, they announced it would become a ranking factor for mobile searches . It was incorporated into the SERP algorithm in July 2018, and the most significant announcement came in November 2020, when Google officially declared that Core Web Vitals and page speed would be used as signals in search rankings. This was added to the algorithm in May 2021 . It was during these times that website speed optimization work increased like never before for web developers like us. All webmasters became more interested than ever in achieving a better position in the rankings or maintaining their existing ones.
Frankly, back then, the most used tools for WordPress sites were undoubtedly caching plugins, with WP Rocket leading the charge. Around 2018, I personally set up the caching systems for over 200 websites using only this plugin's optimized settings, and at the time, I was earning extra income from it. It's worth noting that while PageSpeed is an important technical SEO metric for you, it will never make you jump 5-10 positions in the rankings. The main goal here should be to prevent Google from penalizing you—pages that take more than 1-2 seconds to load will always fall back. Therefore, in this article, I will touch upon the things that hinder the speed of WordPress sites and discuss what other stages you need to complete in sequence, beyond just caching, to increase your speed. If you're ready, let's begin...

Step 1: Check Your Hosting Speed (and Move if Necessary)
If your hosting is slow, no amount of optimization will fix the core problem. The first step is to check your server's response time, also known as Time to First Byte (TTFB).
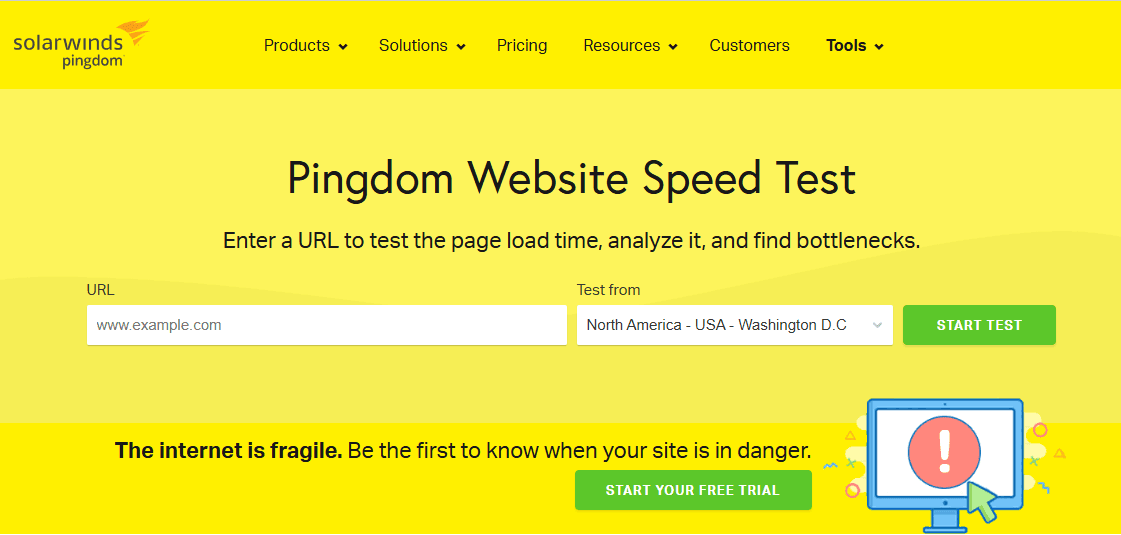
- How to check: Go to a tool like tools.pingdom.com.
- Enter your site's address and run the test.
- Look for the "TTFB" value (you may need to check the waterfall chart). If this value is over 600ms, your hosting is likely a bottleneck.
- Solution: Switch to a hosting provider that offers LiteSpeed servers or NVMe disks.
Step 2: Clean Up Unnecessary Plugins
Every active plugin adds to your site's load time. It's crucial to be ruthless about what you actually need.
- In your WordPress dashboard, go to Plugins > Installed Plugins.
- Review the list. If you see any plugins that are disabled or that you no longer use, delete them.
- Target: Aim for a maximum of 7-8 essential plugins. More than that can severely weigh down yoursite.
Step 3: Choose a Lightweight Theme
Many modern themes come packed with features and code that can bloat your site. A lightweight theme provides a fast foundation.
- Go to Appearance > Themes > Add New.
- Search for and install a well-optimized theme like GeneratePress or Blocksy. Both are known for their speed and clean code.
-
If your current theme is slow and bloated, switching is one of the most impactful changes you can make.

Step 4: Set Up Cloudflare (CDN + Security + Minify)
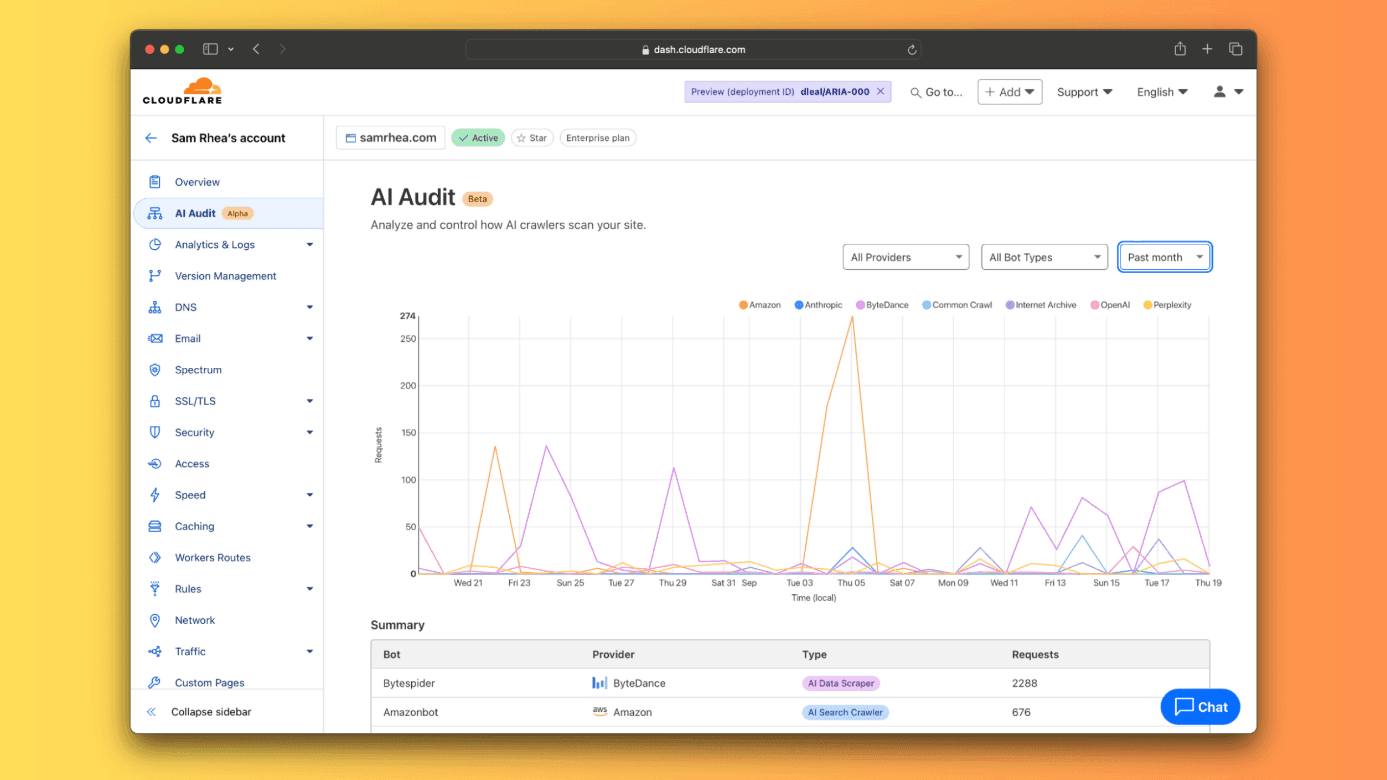
Cloudflare is a free service that acts as a CDN (Content Delivery Network), security layer, and optimization tool. It's a must-have for any website.
- Go to cloudflare.com and sign up for an account.
- Click “Add a site” and enter your domain name.
- Select the Free plan.
- Cloudflare will give you two new nameservers. You need to update these in your domain registrar's panel (GoDaddy, Namecheap, etc.). This change can take a few hours to propagate.
-
Once active, configure these key settings in your Cloudflare dashboard:
1. Speed → Optimization: Enable Auto Minify for HTML, CSS, and JS. Turn Brotli on.
2 .Caching → Configuration: Set the Browser Cache TTL to 1 month.
3. SSL/TLS → Overview: Choose Flexible if you don't have an SSL certificate on your server, or Full if you do. - Speed → Optimization: Enable Auto Minify for HTML, CSS, and JS. Turn Brotli on.
- Caching → Configuration: Set the Browser Cache TTL to 1 month.
- SSL/TLS → Overview: Choose Flexible if you don't have an SSL certificate on your server, or Full if you do.
Step 5: Install a Caching Plugin
A caching plugin creates static HTML versions of your pages, so they don't have to be regenerated for every visitor. This dramatically speeds up load times.
- In your WordPress dashboard, go to Plugins > Add New.
- Search for “LiteSpeed Cache” (if you're on a LiteSpeed server) or another highly-rated cache plugin like WP Rocket (premium) or W3 Total Cache.
- Install and activate it.
- In the settings, enable all core caching features like Page Cache and Object Cache.
- Enable WebP image conversion from the image optimization menu.
- Turn on the Lazy Load feature, which only loads images as the user scrolls down the page.

Step 6: Optimize Your Images
Large image files are one of the most common causes of slow websites.
- Before uploading, run your images through a compression tool like tinypng.com. It can reduce file sizes by up to 70% with minimal quality loss.
- After compressing, upload them to your site. If your cache plugin is configured for it, they will be served in the fast, modern WebP format.
Step 7: Minify CSS & JavaScript
Minification removes unnecessary characters (like spaces and comments) from your code files, making them smaller.
- In your LiteSpeed Cache settings, enable the CSS/JS Minify + Combine options.
- If you also have Auto Minify enabled in Cloudflare, the two will work together to make your files even smaller.
Step 8: Implement Lazy Load + Critical CSS
These advanced features improve the perceived load time for your users.
- Lazy Load Images: We enabled this in Step 5. It prevents images that are "below the fold" from loading until the user scrolls to them.
- Critical CSS: This feature, also available in most good cache plugins, generates the CSS needed to display the top part of your page and loads it first. This makes the page appear to load almost instantly for the visitor.
Step 9: Test Your New Score
Now for the rewarding part. Go back to pagespeed.web.dev, enter your domain, and run the test again. It's common to see a score jump from the 40-50 range to 80-90+ after these optimizations. Remember to check both mobile and desktop scores.
Step 10: Final Tips
- If your hosting is truly bad, changing it is the only real solution.
- Never upload a 5 MB image. Aim for a maximum of 200 KB per image.
-
20 plugins is a junkyard. If you want speed, keep it to 7-8 essentials.

Great work! Your site is now significantly faster. But how do you make sure it stays that way? As we discussed, a simple change can cause your score to drop without you knowing.
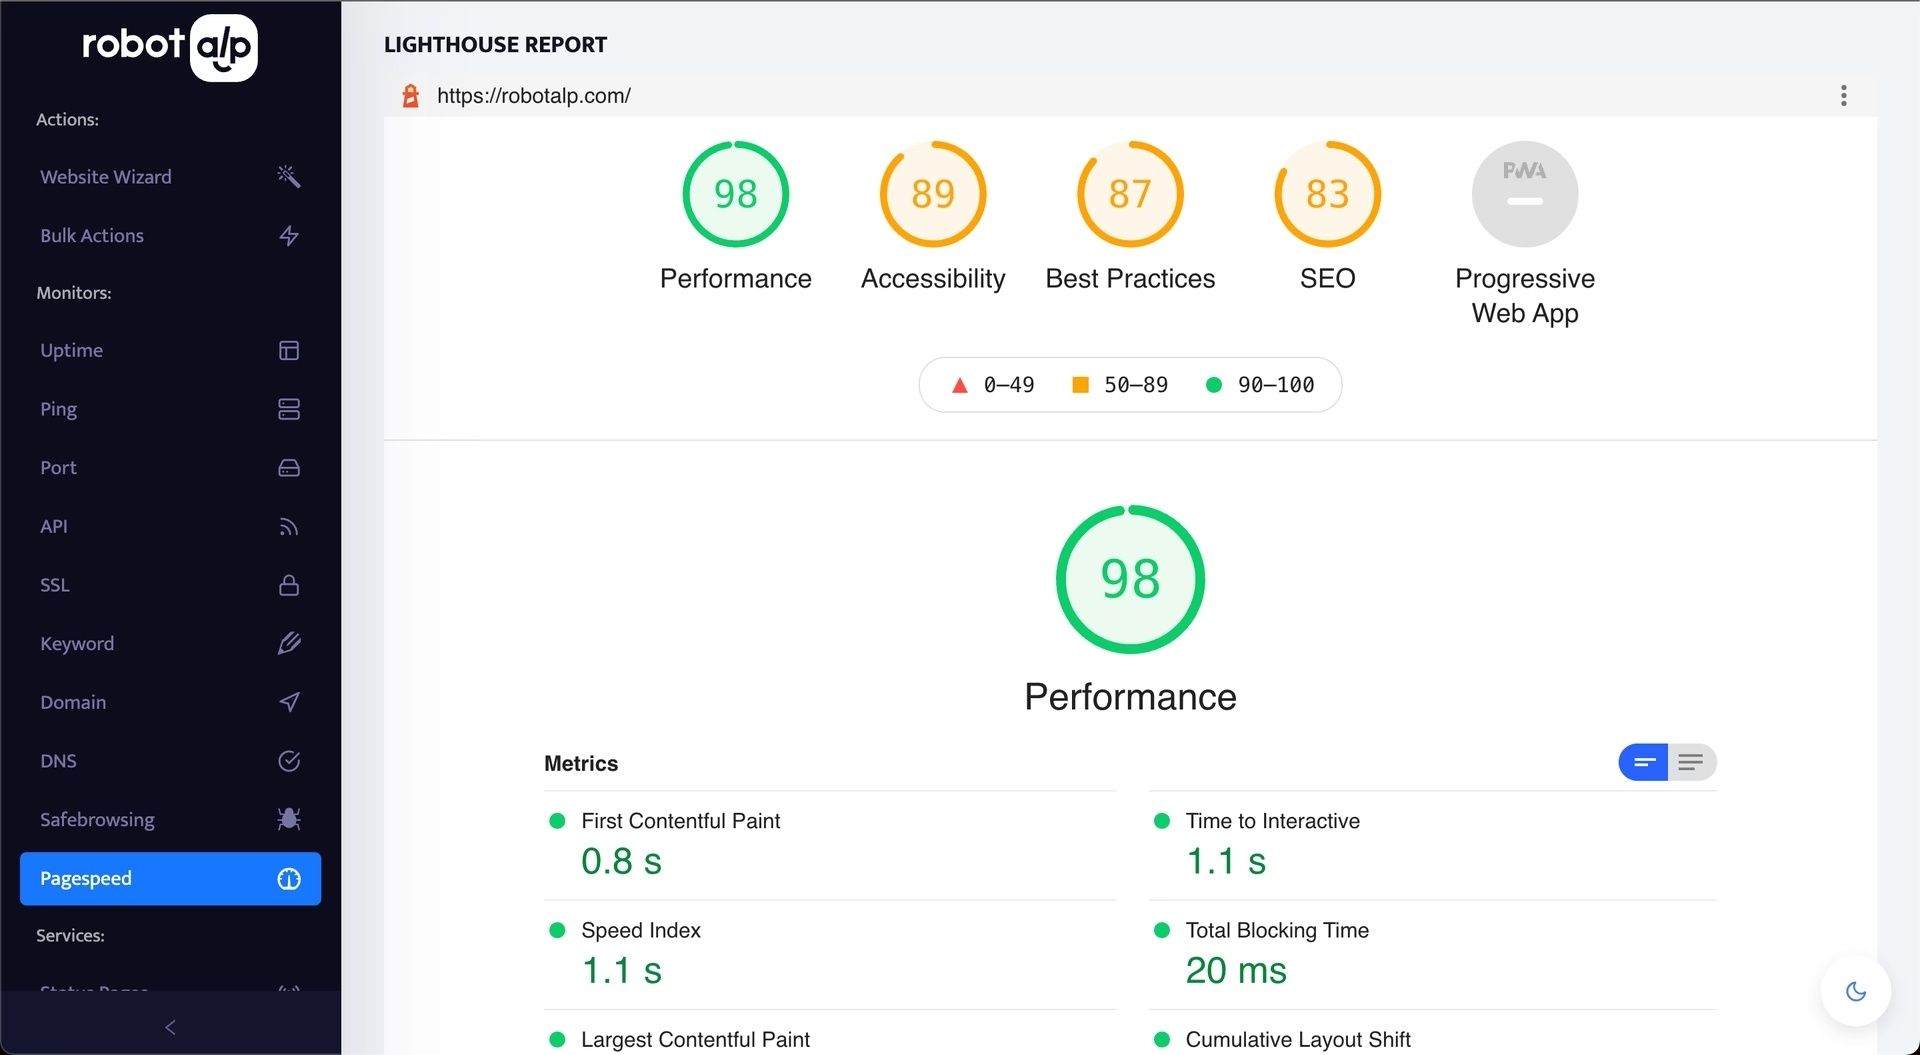
This is where automated monitoring becomes your safety net. Instead of manually checking your score, a tool can do it for you every day and alert you if there's a problem. RobotAlp's PageSpeed Monitoring is designed for exactly this. It periodically checks your score and sends you a notification if it ever drops below a threshold you set. This way, you can instantly know that a recent change had a negative impact and fix it before it affects your users or your SEO.


